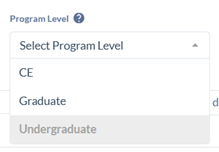
Program Level: Select the appropriate level for the program (graduate or undergraduate). Do not use CE – which is a Banner code for “Continuing Education”.
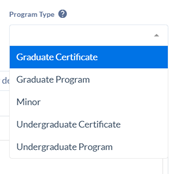
Program Type: Select the correct program type from the dropdown.
College: Select the correct college. The college names have been updated to reflect the University restructure and only one college may be selected for each program.
Department: This field pulls from Banner data, so old department codes may appear in the drop down. Ensure that you are choosing the correct department. You may select more than one department if the program was approved as interdepartmental.
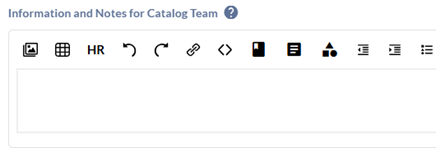
Information and Notes to the Catalog Team: This field does not show in the catalog. This space is for any comments the proposal originator may have for the catalog team as we review your proposal.
R401 approval received from Provost Office? This field is required and new programs may not be added to the General Catalog until official Provost Office approval has been received.
CIP Code: The Registrar’s Office will add this information from the R401.
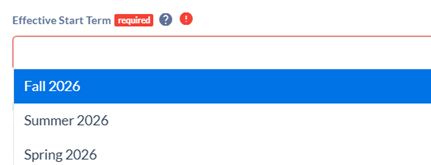
Effective start term: New programs are not limited to a start term of the new catalog year. Select the term your department intends to begin offering this program. It will only appear in the catalog within the effective start term.
Teacher Licensure: Select ‘yes’ if the program has a teacher licensure option to ensure it routes through the correct review and approval workflow.
About this degree: This is a short introduction to the program, to provide information to prospective students about your program. Program or admission requirements, including GPA, coursework, or prior learning information, is not to be included in this section.
Highlighting text will bring up an editing ribbon. Use this, along with the editing ribbon along the top of the box for formatting functions such as tables, bold/italics, headings, bullets, adding external links, or linking to other pages in the catalog. Using the highlighted buttons below will allow you to embed courses, programs, and catalog pages from the Coursedog catalog. See editing ribbon.
Admission requirements for this program: This section may include GPA thresholds, advising details, and information specific to current or new students. You may enter a link to your application or department website for more information by selecting the small chain link icon in the editing ribbon and entering the link.
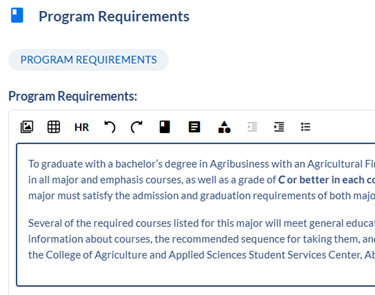
Program requirements: Use this large text box for additional program information that does not list specific courses. Examples include GPA requirements, School of Graduate Studies requirements, portfolio requirements, and similar details. See the tutorial below for instructions on adding course requirements.
Adding Course Requirements to a Program — General Overview
This is very similar to adding prerequisites in a course form. Please contact a member of the Catalog Team if you need assistance with this process.
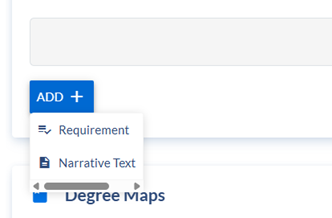
Click the blue ADD + button, and select Requirement.
Build the requirement:
The Requirement Level will always be Program Requirements. Leave the type as Completion Requirement.
The Name will be the name of the degree, with the range of total credits.
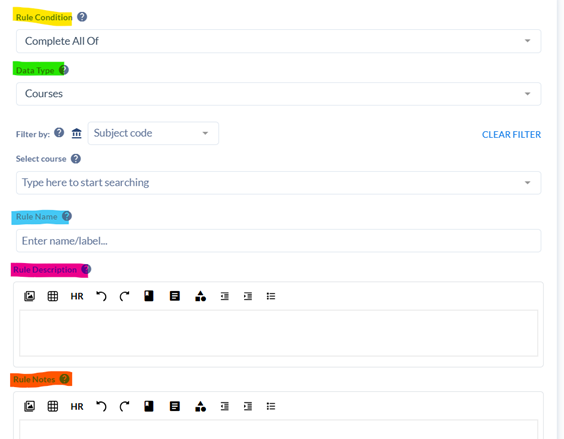
The box that pops up will be where you build your requirement cores. Select the Rule Condition that best applies to the set of requirements in question.
Once your requirement cores are built, a degree map is required for all Baccalaureate degrees, and requested for Associate degrees.
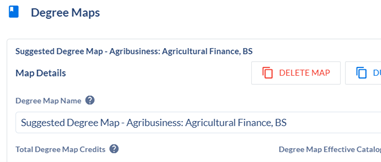
Select the + New Map button in the Degree Maps section of the proposal. The Degree Map Name will be Suggested Degree Map – Name of Program, Program Type.
Degree Map credits: this field will populate as courses are built.
Degree Map Narrative: this field is for notes, general degree map information, links, etc.
To begin building semesters, select the + NEW SEMESTER button on the right side of the screen.
You will be prompted to fill in the year and semester. Semesters and requirements cannot be re-ordered, so begin in chronological order.
Click the + New Requirement button to begin adding courses. Click each requirement and select the edit button to add information.
Requirement specifics:
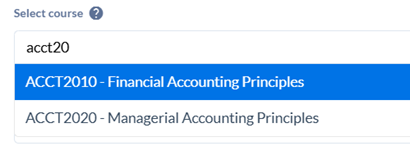
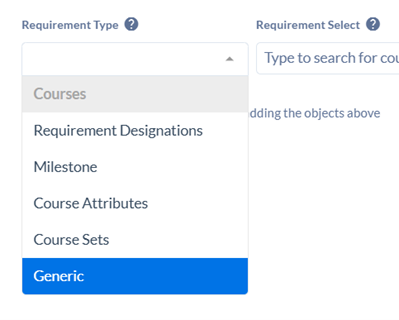
To add a course: Make sure the Requirement Type is set to Courses, and type in the desired course.
To add an “or” option between two or more courses, add another course within the same requirement. (Selecting + add course choice will create an and option.)
To add General Education/University Studies options: Select Course Sets as the requirement type, and type in the desired designation. This will link to a pre-built set of all courses with the associated designation.
To add custom text: Select Generic as the requirement type. Type in desired information and select the +ADD button to the right. As of right now, no editing options are available. The information will post as plain text with the word (Generic) beside it.
Adjusting credit totals in Degree Map requirements:
Credit totals in Degree Maps are generated automatically based on the information programmed in Banner, and will not generate counts listed in custom text, which will occasionally lead to discrepancies between the generated amount of credits and the actual credits.
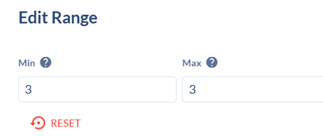
To adjust the credits on a requirement, go to the Details tab in the Edit portion of the requirement.
Under the Actual Credits fields, select click to pick values and input your credits. If a range is allowed, put those values in their respective Min/Max fields; otherwise, the values will be the same for both.
Save the adjustment.
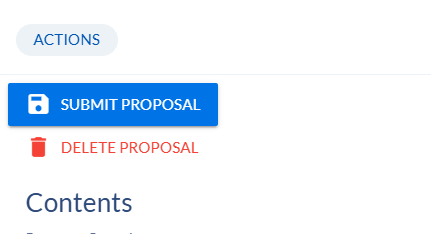
Once all program information, program requirements, and degree map semesters are built and accurate, choose Submit Proposal in the top right-hand corner of the screen. The proposal will now route through its assigned workflow.