Groups
Groups are population subsets within a program and can be used to easily send messages to certain segments of a program. They also allow program managers the ability to give counselors access to only specific groups.
This guide goes over how to create/update groups, view groups, and select which groups a counselor has access to.
Table of Contents
Creating & Updating Groups
Groups can be created and managed for multiple contacts using the "group_list" column in a .csv upload. Groups can be created when updating existing contacts, or while adding new contacts to the program.
If you are creating new groups for existing contacts, it is recommend you start with a contact export, and make adjustments to the exported file. Starting from a contact export allows you to view any existing group_lists for each contact, and preserve them if you'd like. Learn more about contact exports.
Follow these instructions to create or update groups in a contact list:
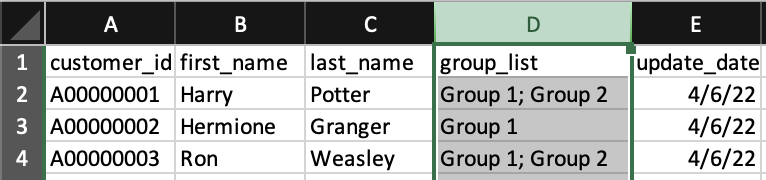
Ensure a "group_list" column exists in your .csv file
If one doesn't exist, add it.
Assign a group(s) to contacts
Type the group name you want a contact to be added to in the "group_list" column. To add a contact to multiple groups, use a semi-colon between each group (e.g., "Group 1; Group 2;)
Example:
Save the .csv file and import it into Message
- If importing new contacts, check the "Import new contact" checkbox during the import process.
- If updating existing contacts, check the "Update existing contacts" checkbox during the import process then select the field(s) you are updating (i.e., group_list).
- Check out the Importing Contacts page for additional details regarding importing .csv files.
Viewing Groups
Groups can be viewed by selecting the down arrow next to a program in the Messages or Contacts tabs.![]()
Messages and contacts in a program can be filtered by selecting one or more groups.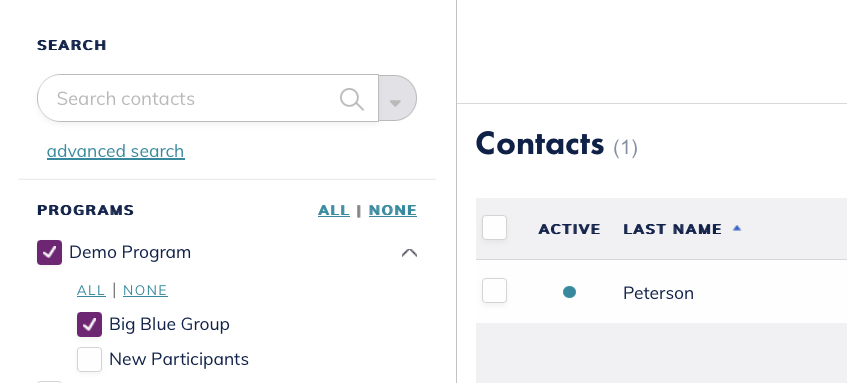
The groups an individual contact is a part of can be viewed and edited from the contact's profile.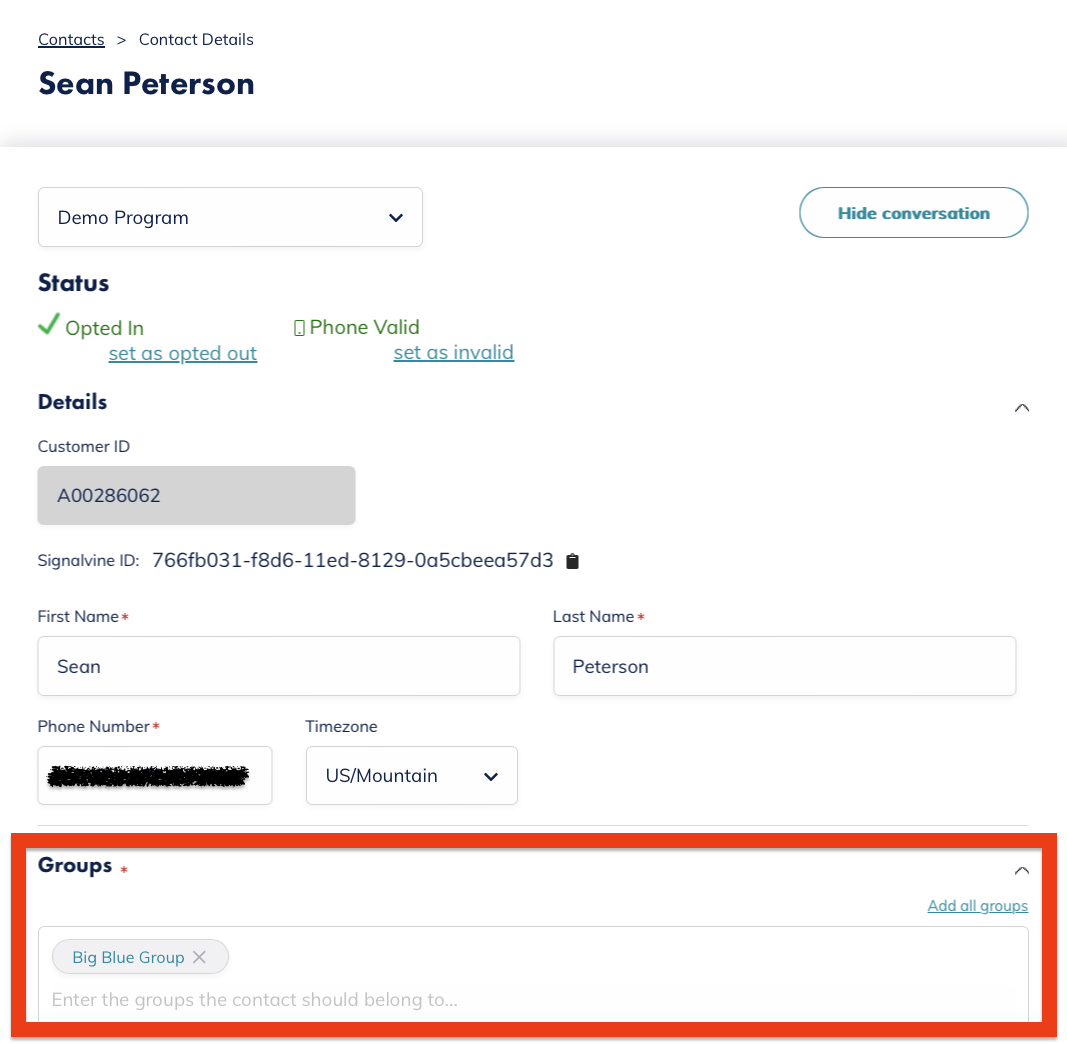
Assigning Counselors Access to Groups
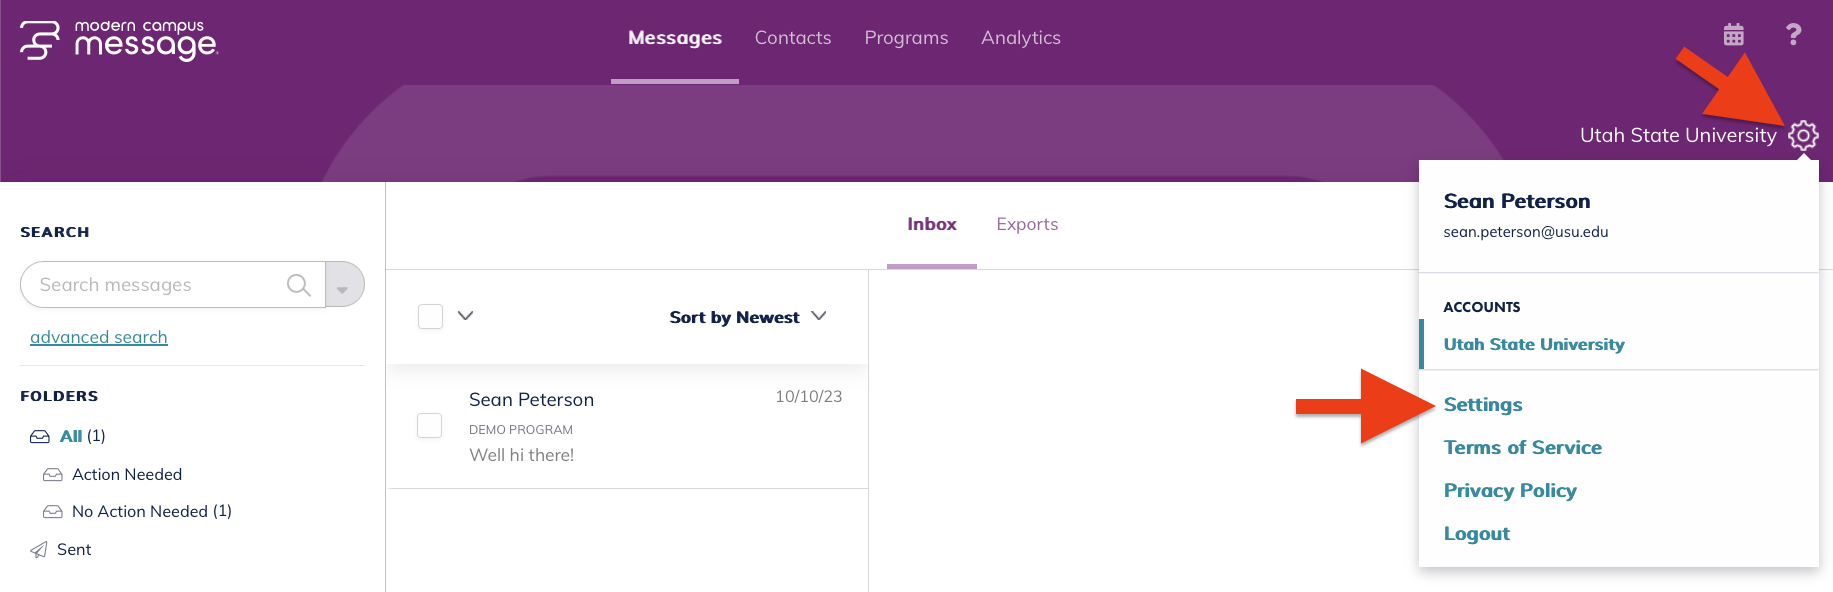
Program admins can assign group access rights to counselors in their program(s) by following these steps:
Select the gear icon in the top right of Message then select "Settings"
Under "User Management," select the pencil icon next to a user
![]()
Choose the additional role, program, and group the user should have access to then click the plus sign
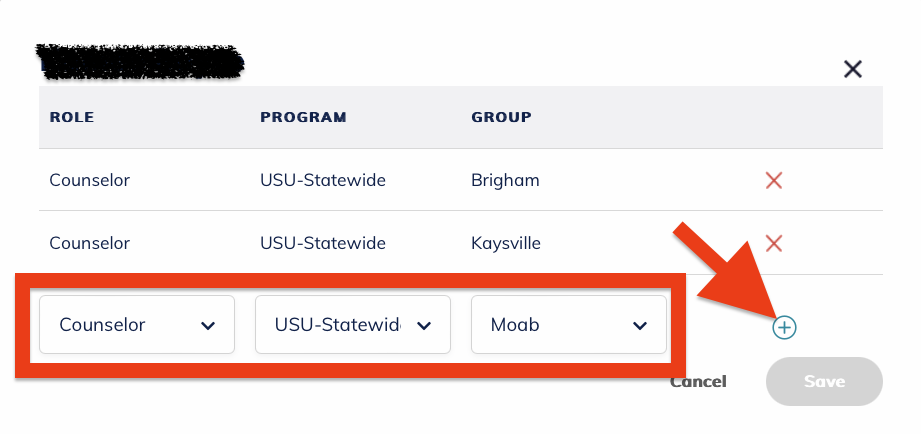
Click Save

The user may need to log out of Message then log back in to see their updated access.
Next Steps
Want to learn more? Check out how to opt a contact in or out of a Message program.