Updating Existing Contacts
Data can be updated for existing contacts at any time via a .csf file upload. This guide goes over how to prepare a file to upload and how to upload the file into Message.
Table of Contents
Preparing the file
Obtain the .csv file
A .csv file can be created from scratch, started from a data export from Message, or started from an export from another system, like Argos.
Delete any contacts that don't need to be updated
This may not be needed if you are creating a file from scratch.
Delete any columns (fields) that aren't present in Message or that do not need to be updated
Ensure the customer_id column is present in the file
The A# for each contact in the file must be in this column.
Ensure column headers exactly match the variable names in Message
Variable names in Message can be found on the Manage Fields page under the Programs tab. If a column in your file does not yet exist in Message, create the new custom field before you attempt to upload the file.
Save the file as a .csv
To save an Excel spreadsheet as a .csv file:
- Click "File" > "Save As" in Excel
- Click on the "Save as type" or "File Format" dropdown and select the .csv file format.
- Click "Save"
Uploading the file
Under the "Program" tab, select "Import Contacts"

Select the appropriate program from the left, then click "Import Contacts"

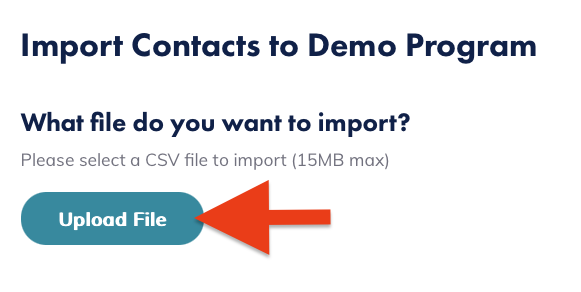
Click "Upload File" and select the .csv file to upload
Set the appropriate import settings
- Uncheck "Import new contact" and select "Update existing contacts"
- Select the fields you would like to update.
- Select "Only import the file if it contains no errors."

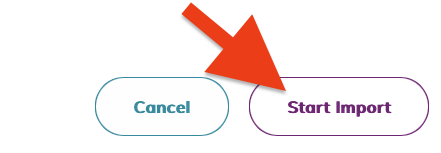
Select "Start Import"
Once the file is imported, a summary will appear with the number of newly added contacts an the number of errors, if any.
Run into an error? Learn how to fix common errors.
Next Steps
Ready for more? Learn how to create and manage groups in Message.