Communicating with Your Students While Teaching Remotely
Communicate via Email
Do not make your students wait in uncertainty longer than needed. Once you've made your plan, communicate expectations for your course to students.
Get an Email List from Banner
If you are teaching a face-to-face or online course with only one section, the easiest way to get an email list is directly from Banner.
Go to the Banner Dashboard
On the Faculty card, choose Class List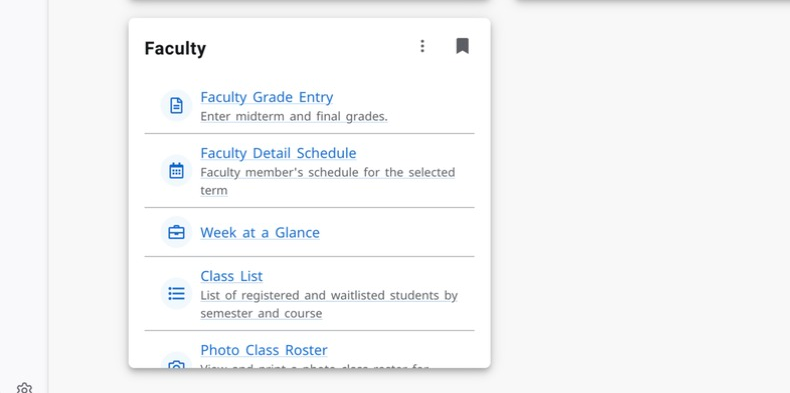
Select applicable term
Click on the line next to the course title
Click the checkbox at the top of the list to select all students (or check certain boxes to select individuals)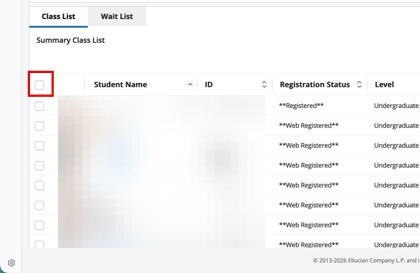
Click the envelope icon to email students
![]()
A new email message will open in your email client with the students included in the To field that you can copy and paste into the Bcc field or to create a list
For questions regarding USU email policy see https://www.usu.edu/policies/5207/.
Get an Email List from Canvas
CIDI has provided a tool to help you email your students at their preferred email addresses from your email client.
- In your Canvas course, click on People.
- At the top of the page, click the Email All Students button.

- Your email client will open with a new message and all of your students' email addresses will appear in the BCC field.
- Type your email and hit Send.
Alternatively, you can download your class roster and copy/paste email addresses into the BCC field of your email client. You can also use the downloaded list to email students individually using tools like Microsoft Word mail merge.
Communicate via Canvas Announcements
You might need to cancel your live class and use alternative means to provide information to your students and allow them the opportunity to ask questions. One of the easiest ways to do this is using Canvas Announcements. The following video will walk you through the steps below.
Log in to Canvas at https://usu.instructure.com with your A-number and strong password
Click on the title of your class
Click on Announcements on the course navigation on the left-hand side of the course
(If you haven’t added any announcements there will be a picture of an eye with a line through it to show that it is not visible to students. After you add an announcement, that link will become visible to students and the eye icon will disappear.)
Click on + Announcement to add a new announcement
Click Save when you have made all appropriate selections
What if the email addresses open in the wrong email client?
If your students' email addresses open in the wrong email client, you can select the addresses and copy and paste them into your preferred email client (e.g. Outlook), or you can use the following sources to change your default email client.
Allow students to view your course before the start of the semester
- Click on Settings then un-check the option labeled Restrict students from viewing this course before the start date. Then click on Update Course Details.
- Publish the course by going to the course Home page and clicking Publish.
With this done, students WILL be able to:
- send and receive messages sent through the Inbox (Canvas mail)
- view the course syllabus page
- view published announcements
- see published, available assignments
(If you want some assignments to not be visible you can unpublish them, or add an availability date of a future date.) - view published pages, files, and modules
Until the first day of the semester, students WILL NOT be able to:
- submit assignments
- post to discussion boards
- receive notifications of announcements
- view unpublished content or content within unpublished modules