Layout Customization
After you choose a template that you would like to work with, Delphinium allows you to do additional customizations to the layout and interface.
Organizational Tips
Before you proceed and begin to customize your Delphinium interface, we want to provide some organizational tips to help you in your design decisions.
First, we recommend that you only have 1 to 2 rows per tab. Within each of those rows, we suggest that you have a max of 3 or 4 columns. If you would like to have more, we suggest that you create a new tab and add the components there. This helps ensure that most or all components are visible at a glance and that students won't need to scroll down excessively on smaller screen platforms.
We also recommend organizing components so that information central to completing the class, like modules and overall grade or progress, is displayed on the first tab. Other information is best put on subsequent tabs. This allows students to get the most important information first, and those students who want more information can get it at their convenience.
Edit the Layout
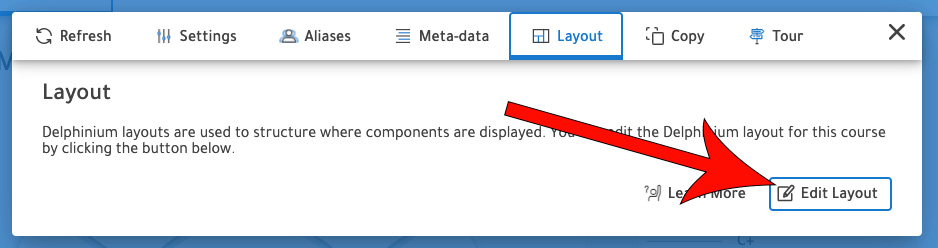
Go to Settings

Click the Layout tab
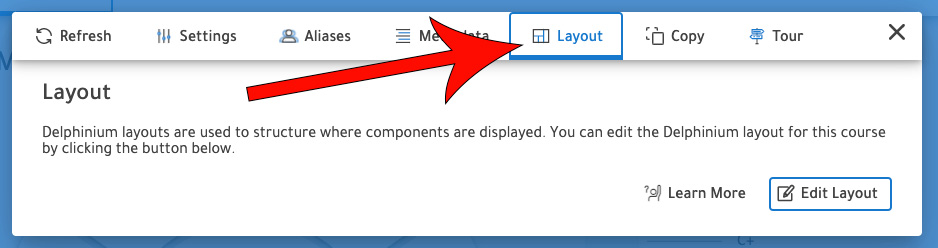
Click Edit Layout
Remove Components
There may be components that you don't want to use for your class. If that is the case, click on the X at the top of the component to be removed.

Add Components
To add another component, simply drag and drop the component into the column that you would like to place it.

If you drag and drop it outside of a column, it will look like this:

Create Columns
To keep your components grouped with their correct titles, you will need to create a column.
Hover over the content box, then click on the maroon arrow

Under Add a Cell, click Left or Right

Drag the desired component into the newly created column
