Record a Class Lecture with Kaltura Classroom
Kaltura Classroom is software that allows you to easily record presentations that occur in a classroom. It is installed on most USU classroom computers and can record a classroom's camera feed, microphone, and computer desktop. (See the Classroom Information page and filter by "Lecture Capture (Kaltura)" to see which classrooms are equipped with Kaltura Classroom.)
In order to record follow the steps below:
Login to the classroom computer
Double-click on the Kaltura Classroom icon to open the recording application
![]()
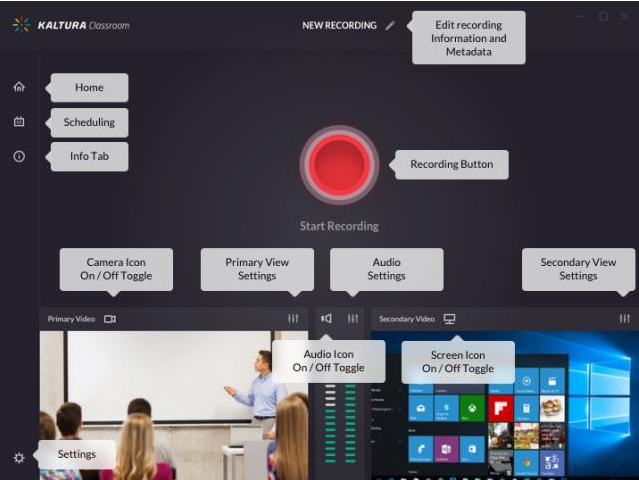
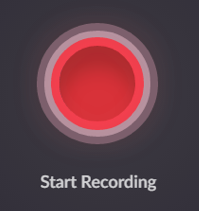
The Kaltura Classroom application opens, featuring a large red record button and a preview of audio and video inputs
The image below labels the key components of the interface
Turn on the classroom microphone
In most classrooms, there is a lapel microphone either on top of the teaching console or in a console drawer
Turn it on and clip it to yourself

Check your audio and video feeds
Before you begin recording, Kaltura Classroom provides a preview of the primary video source, audio source, and secondary video source
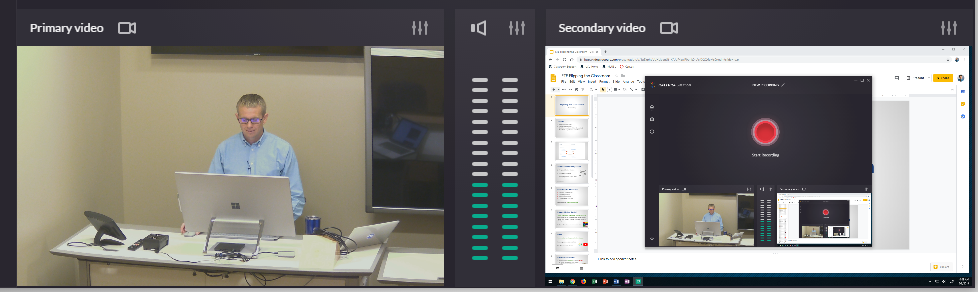
The Primary Video
Shows the classroom camera. You can click on the camera icon at the top of the preview to turn the primary video on or off.You can also click on the slider icon to choose a different camera source. You may need to change the secondary video source to be able to change the primary video source.
The Audio Indicator
Shows a bouncing bluish color as you test the microphone. This indicates that audio is being received. You can turn the audio off by clicking on the audio icon at the top of the audio indicator. You can adjust your audio source by clicking on the slider icon.The Secondary Video
Set to capture the computer screen. You can click on the computer screen icon at the top of the secondary video preview to turn the screen capture off. You can adjust the screen capture settings or select a different secondary video source by clicking on the slider icon.Click the Record button to begin recording once you are confident that your video and audio settings are correct
To save the recording, enter your A-number in the User Name field
Optionally, you can also change the title for the recording, give it a description and assign it tags
Minimize the Kaltura Classroom application and begin your presentation
Do not close the application until you have stopped the recording
Maximize the application and click the Stop icon when you are done recording
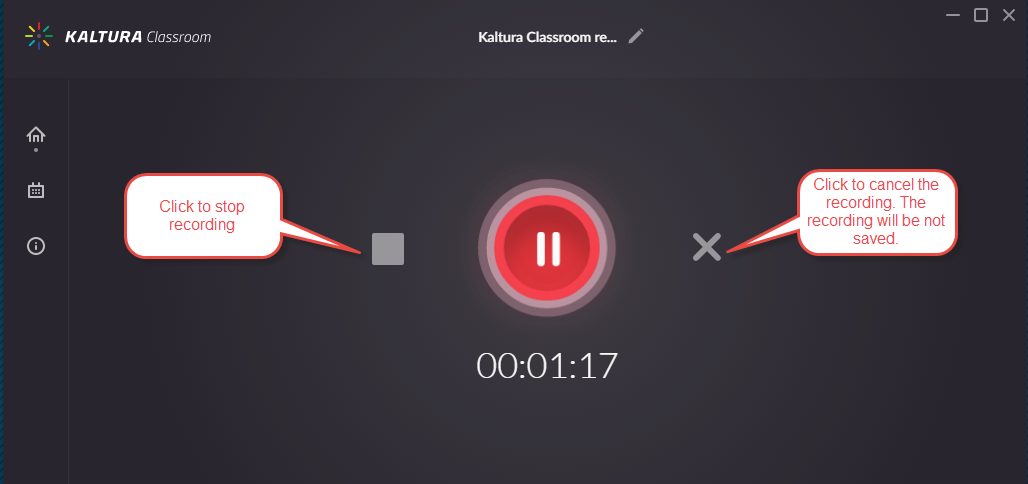
Click Save
The video is saved to your Kaltura media library (It may take 2-12 hours for the video to process before it will show up in your My Media page)

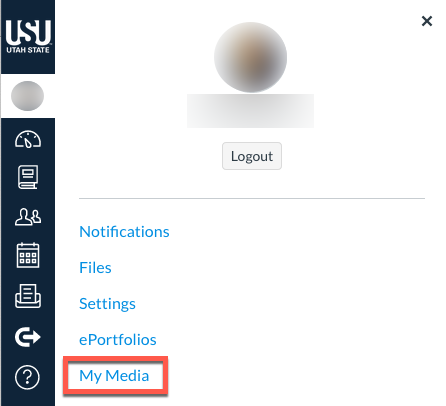
View your video in My Media, within Canvas
Login to Canvas and click your User Profile image at the top right
The newly recorded video appears at the top of your media list
To get the video to appear in a Canvas course, you must either: