Atomic Assessments Outcomes
This page will go over how to review Student Reports and Outcomes in Atomic Assessments.
Identifying Outcomes
Click on the Atomic Assessments tab

Click on the three dots and select Content Manager

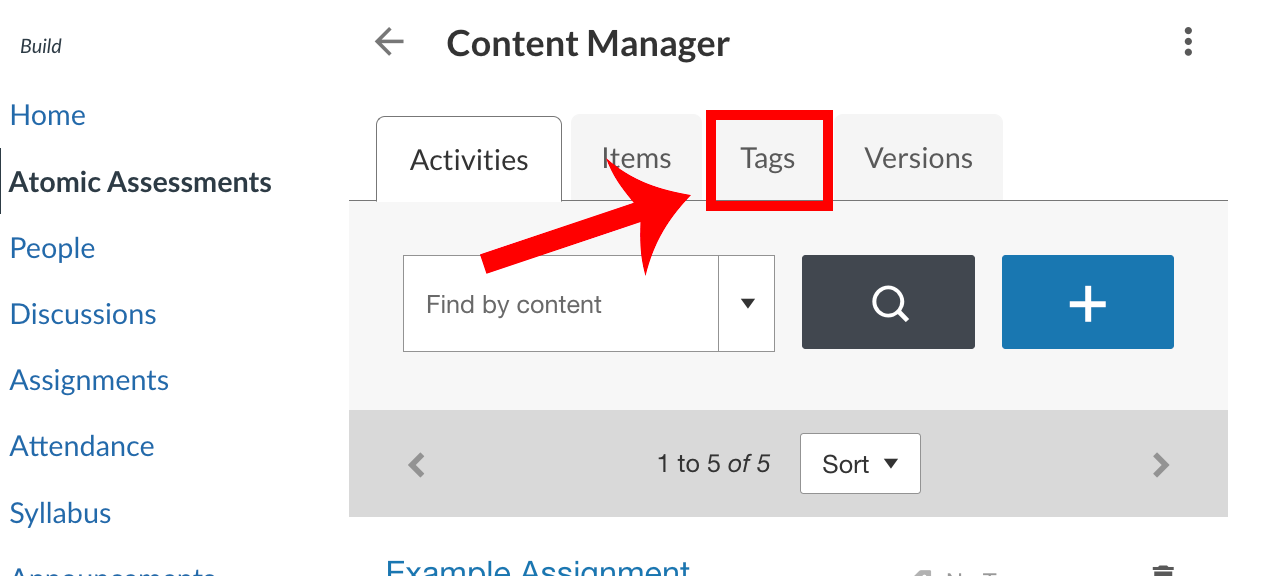
Click on the Tags tab
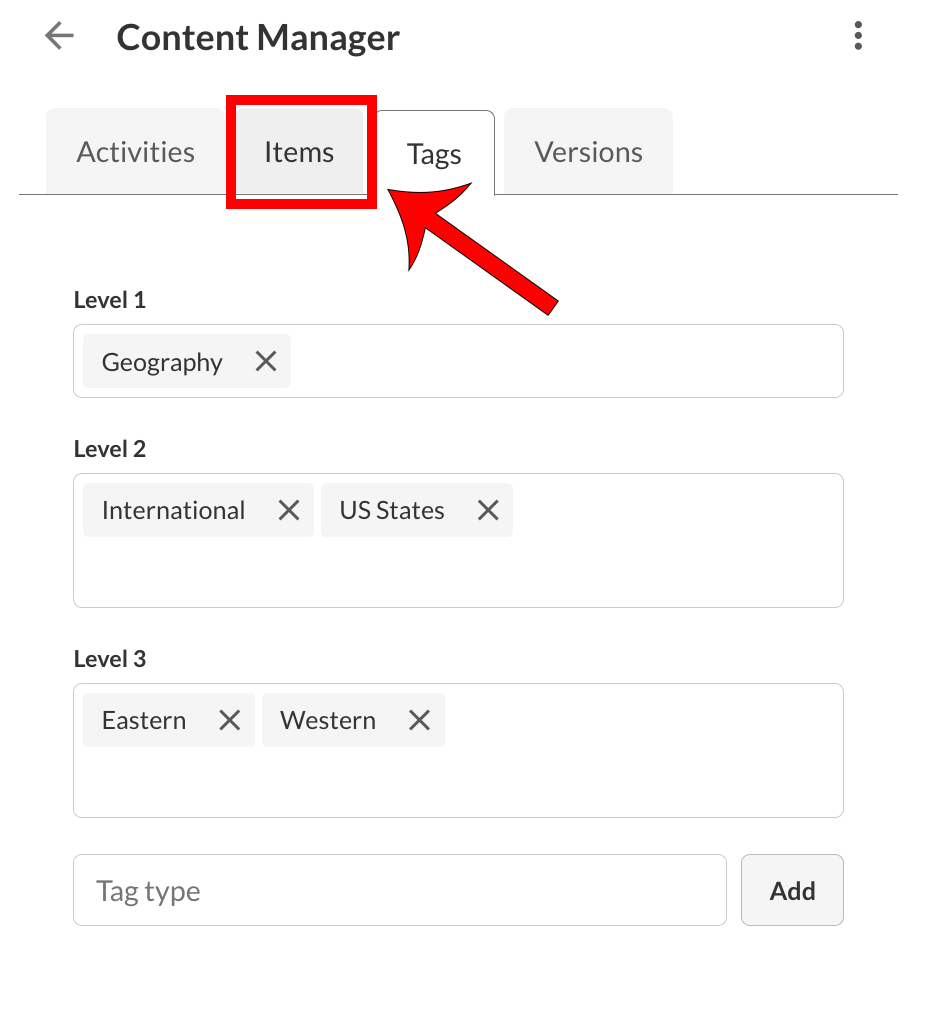
Create the tags
There are 3 levels of tags:
-
Level 1 is the most encompassing with Level 2 as a sub-group and so on
-
There is no limit to the number of tags added to each level
-
Individual tags can also be created outside of the levels in the Tag type box

Navigate directly to the Items tab
The tags save automatically
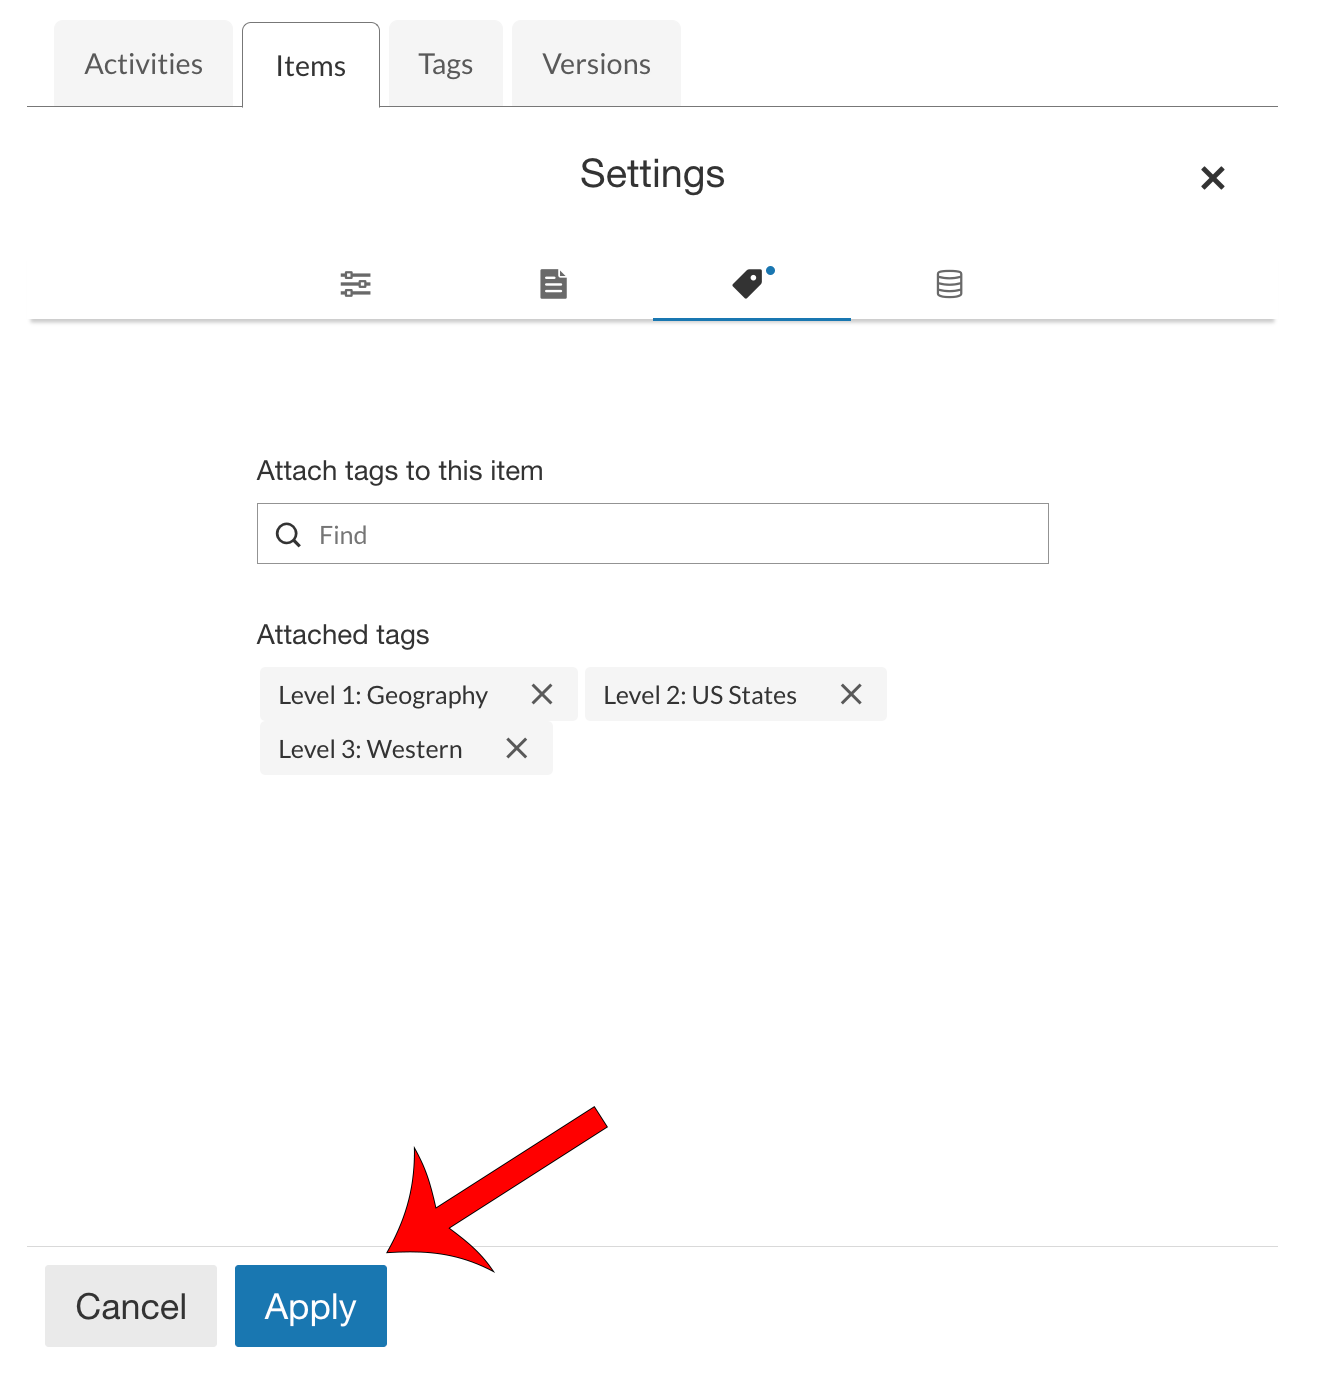
Click on any item to add tags to it
Notice that there are no tags associated with the item in the example below.

Click Settings
Tags can only be added to Items, not individual questions that may appear in the item. (An Item may only include one question, which is the only way to tie the tag to the question.)

Navigate to the Tags section

Type in the name of the tag(s) you would like to associate with your item

Scroll down to the bottom and click Apply
If the tags are not applied, it will not save
Save the Item
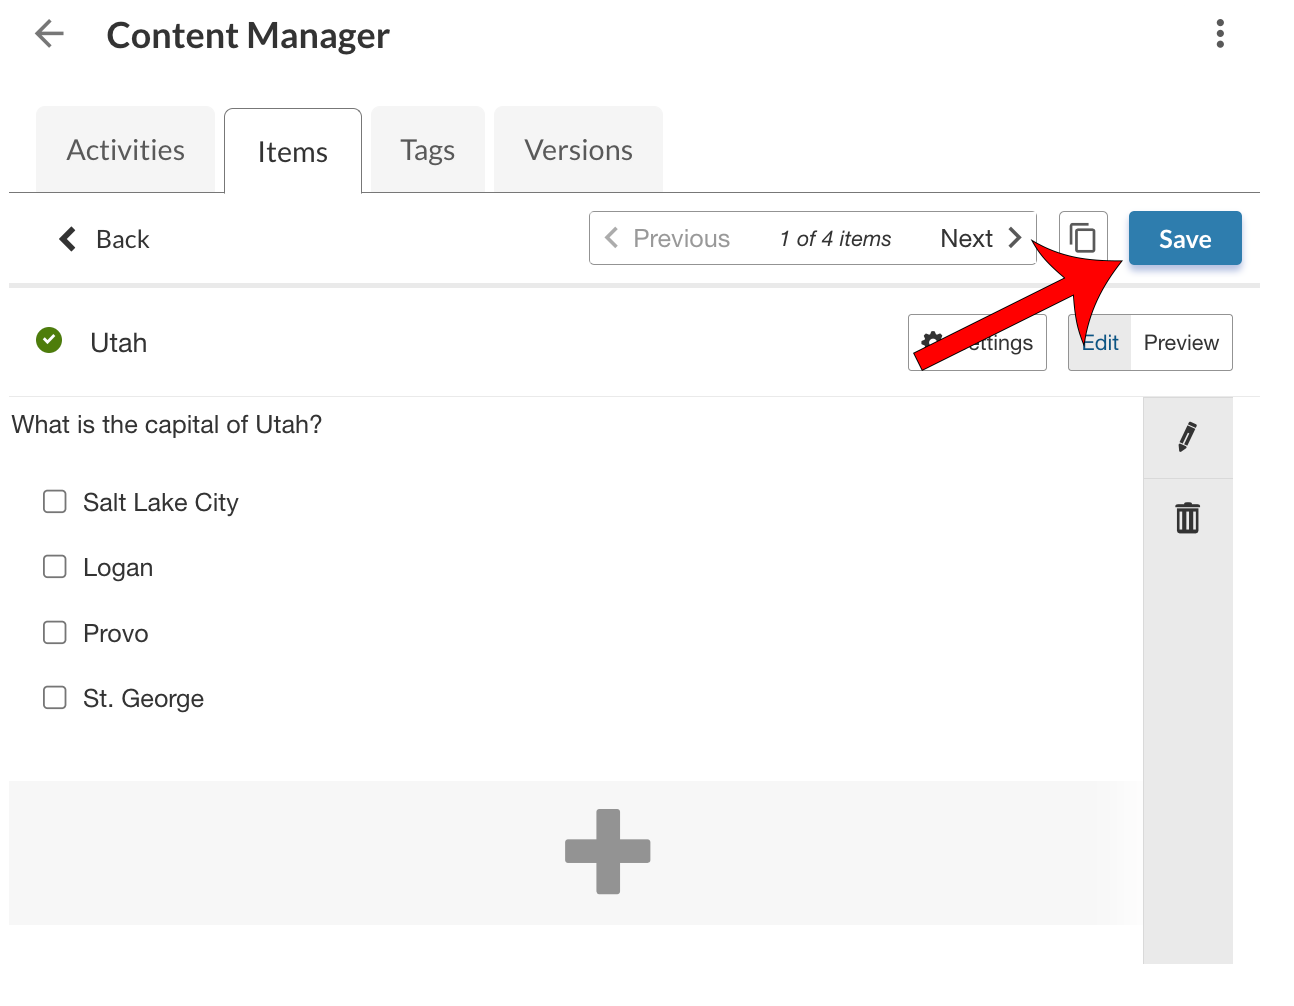
Click Back to return to the Items page
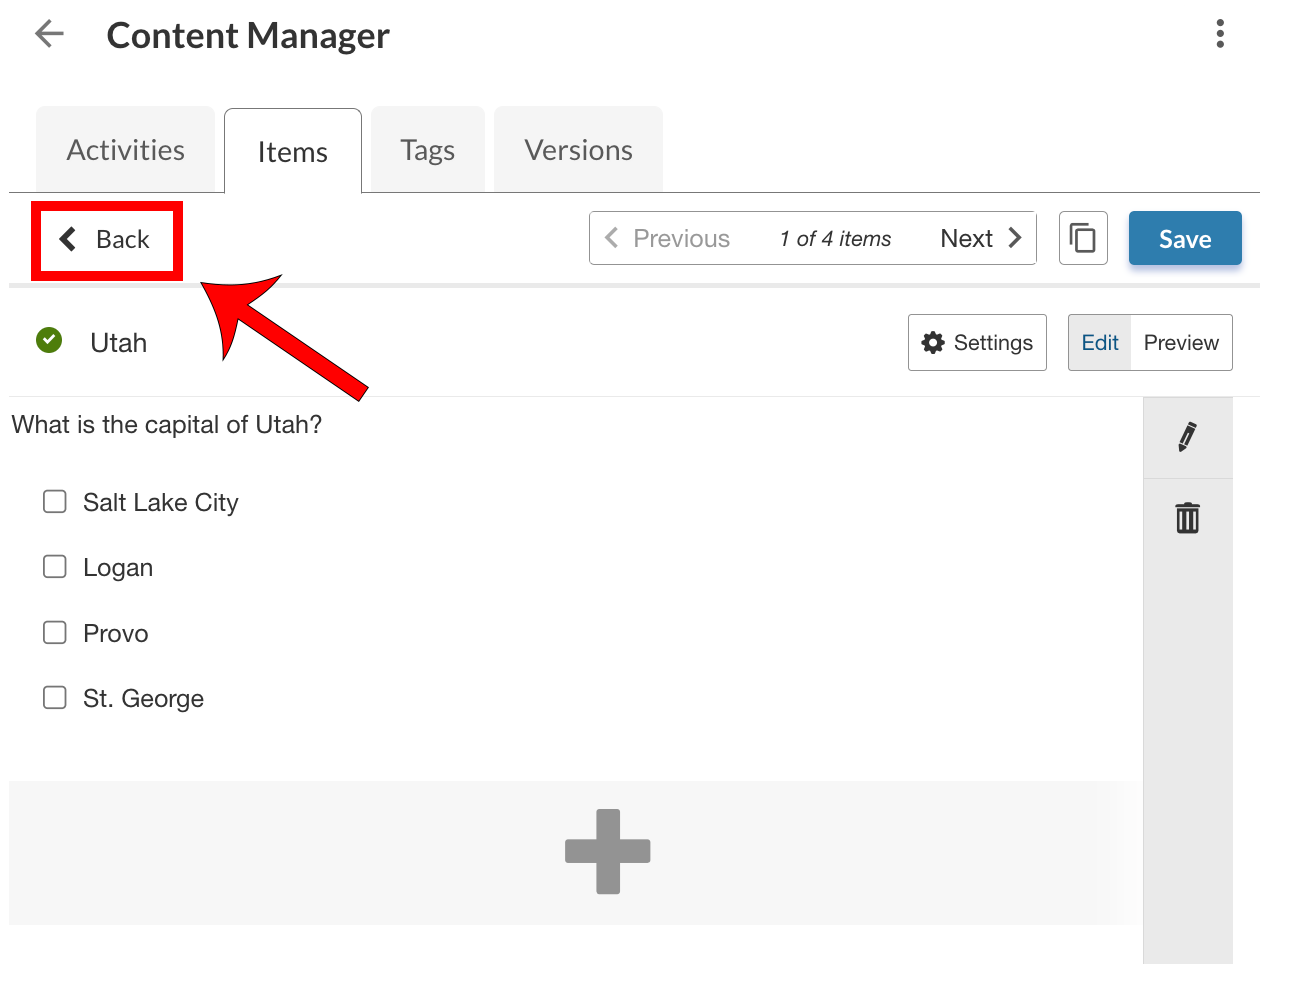
Review the Item's associated tags

Viewing Outcomes Reports
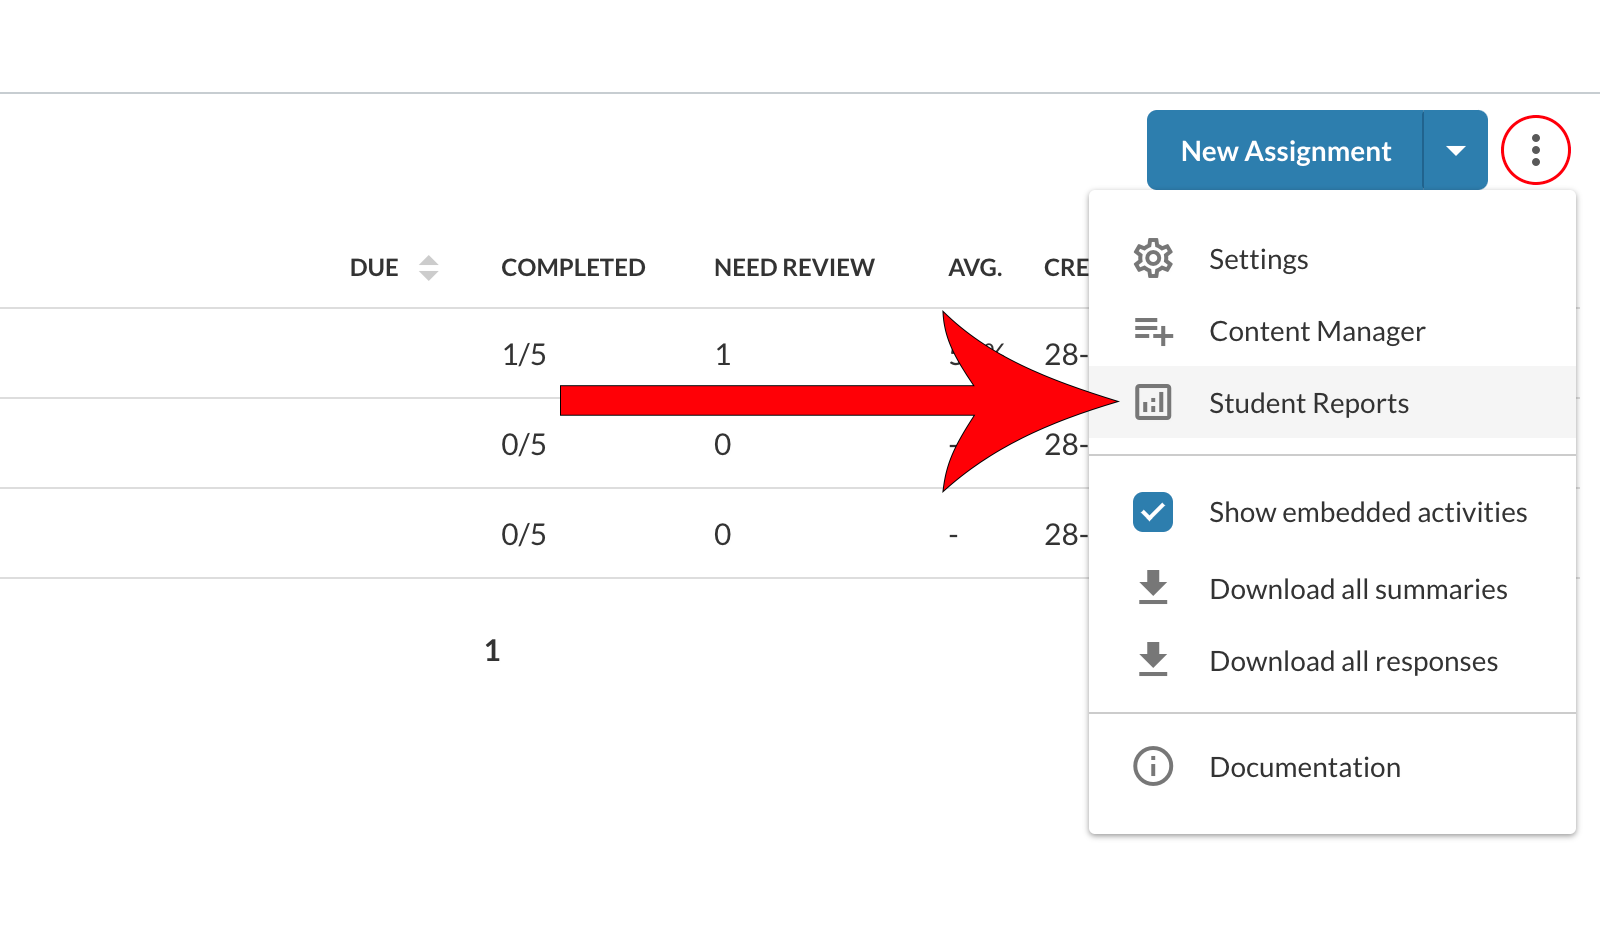
Once you have tags associated with your assessments, you can take full advantage of the Atomic Assessments Reports. To view your assessments' reports, navigate to the Atomic Assessments homepage, click on More Options (3 dot menu), and then select Student Reports.
Atomic Assessments - Get Started
The following list of pages will guide you through getting started with this tool. The current page is listed in bold.