Create a Page Template with DesignPLUS
Design Tools can help you create a basic page template for you to duplicate throughout your course to have a consistent look and feel. Below are the basic steps in selecting a pre-designed theme and further customizing it to your liking.
Add a Pre-Designed Theme
Design Tools has pre-designed themes that make it quick and simple to have a well-organized and aesthetic page. Below are the steps to access and apply these themes to your course pages:
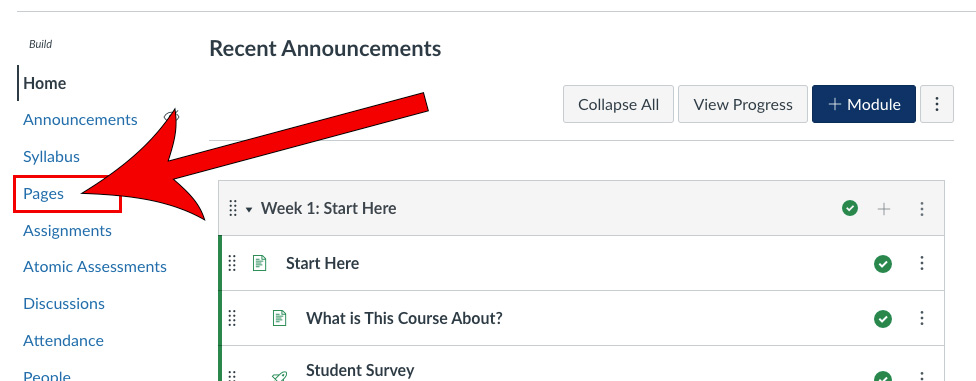
Go to Pages
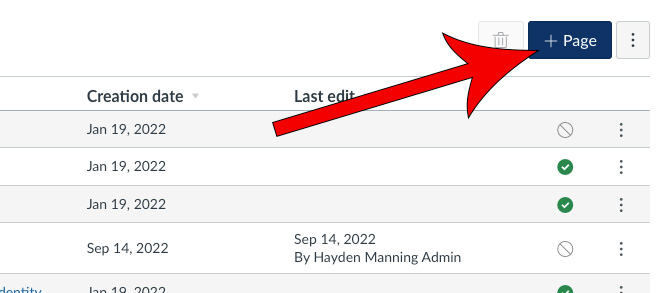
Click + Page
Give the page a title
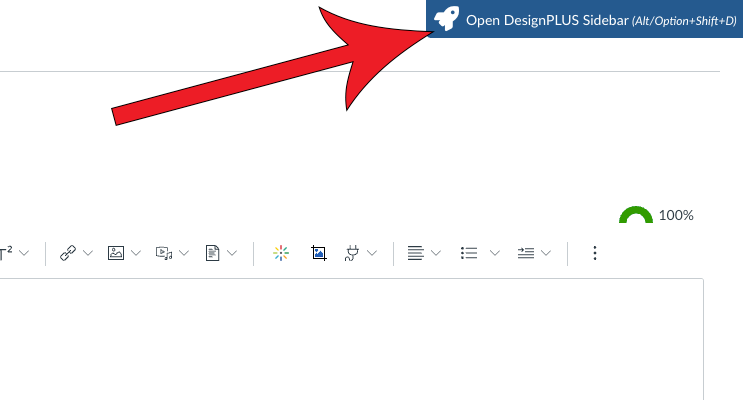
Launch DesignPLUS by clicking on the Rocket Ship icon in the top-right corner
Users should have updated the Legacy Design Tools sidebar to the new DesignPLUS sidebar.
Select the Add New Elements tab
DesignPLUS may have opened up this tab by default. If that is the case, leave it as is. Clicking it while it is activated will navigate you away to the Current Element tab.
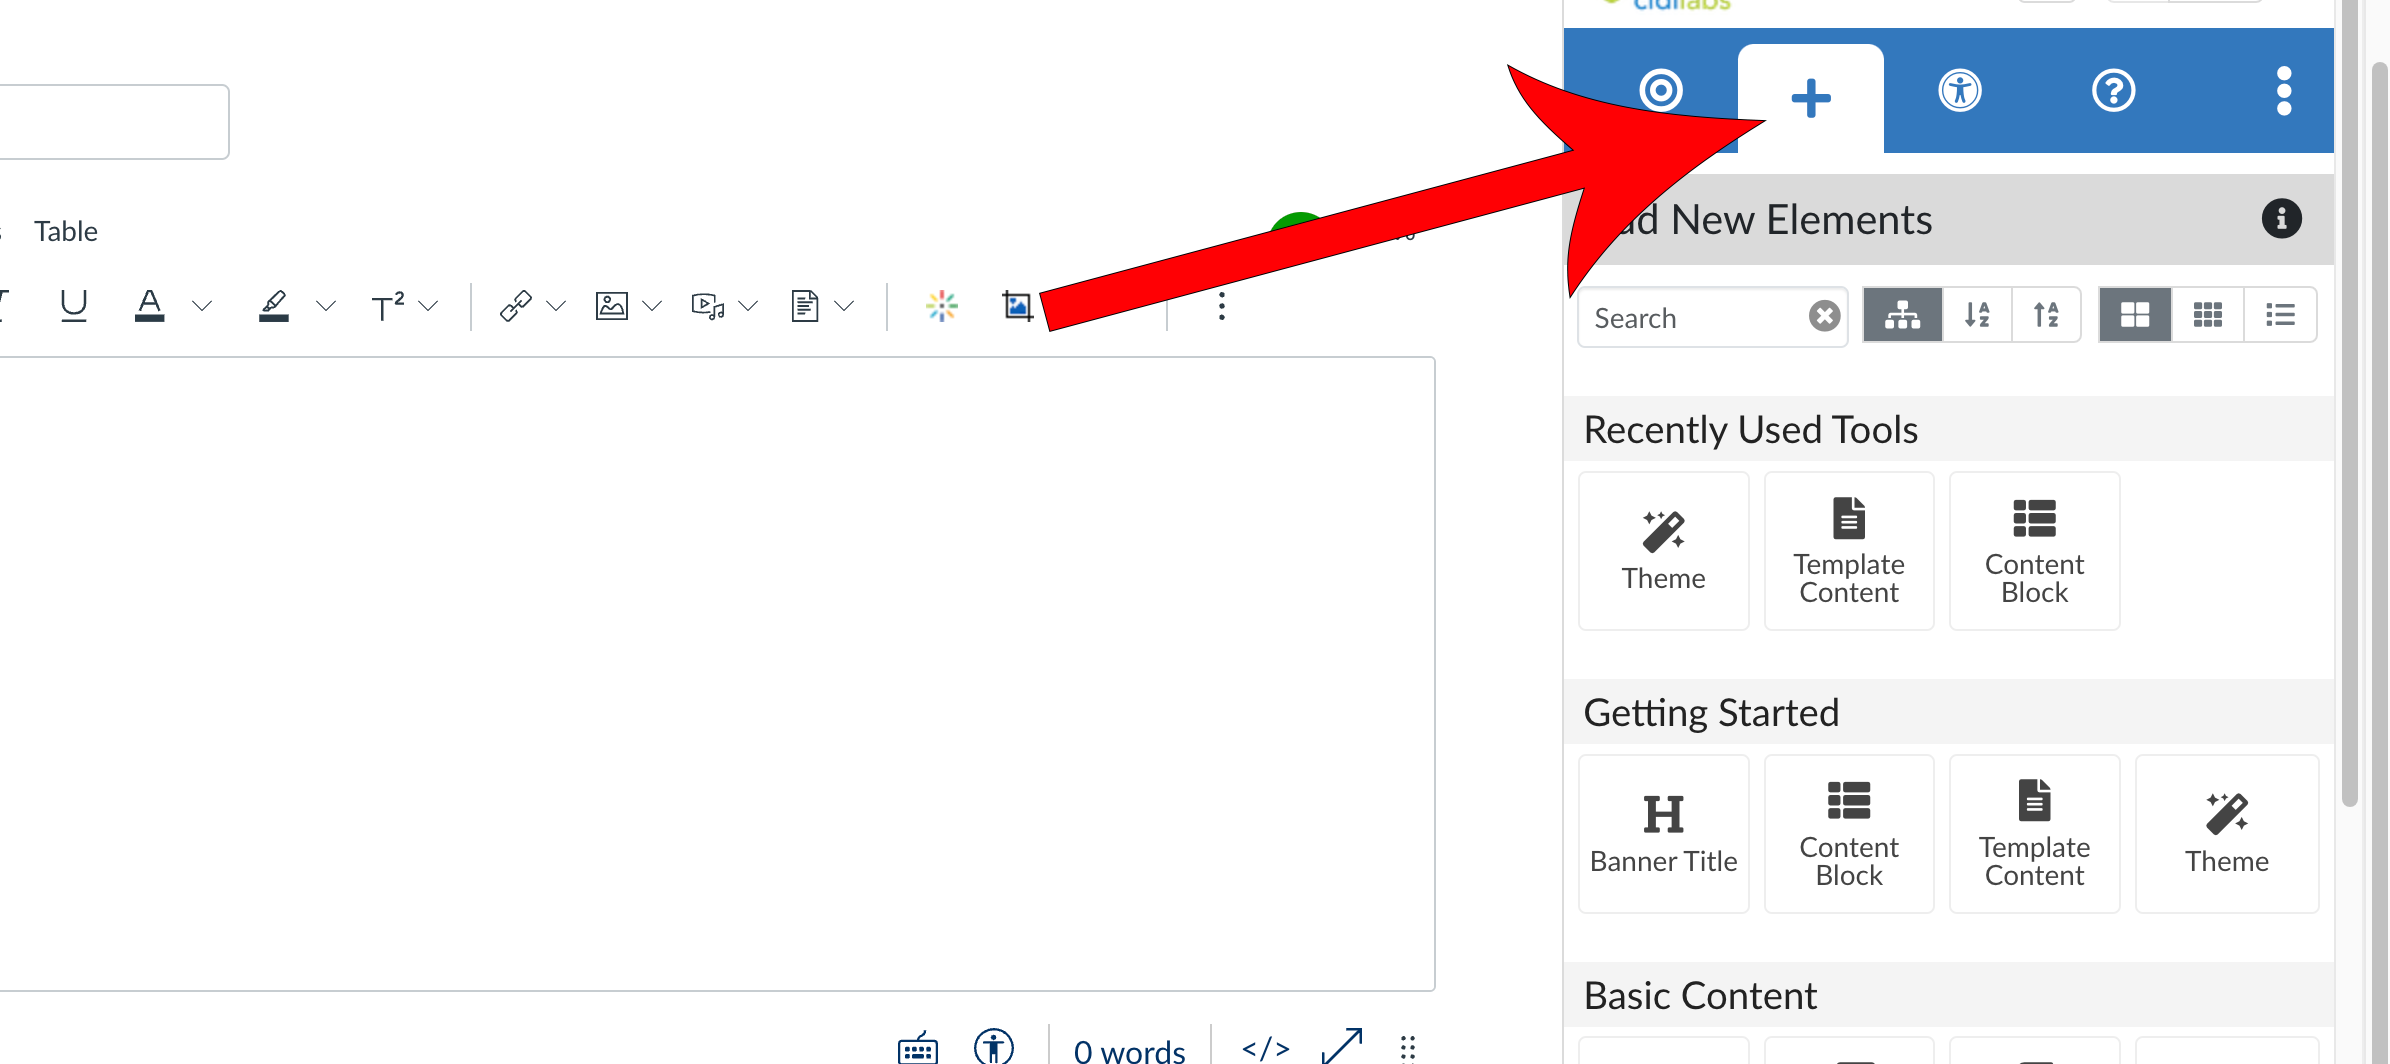
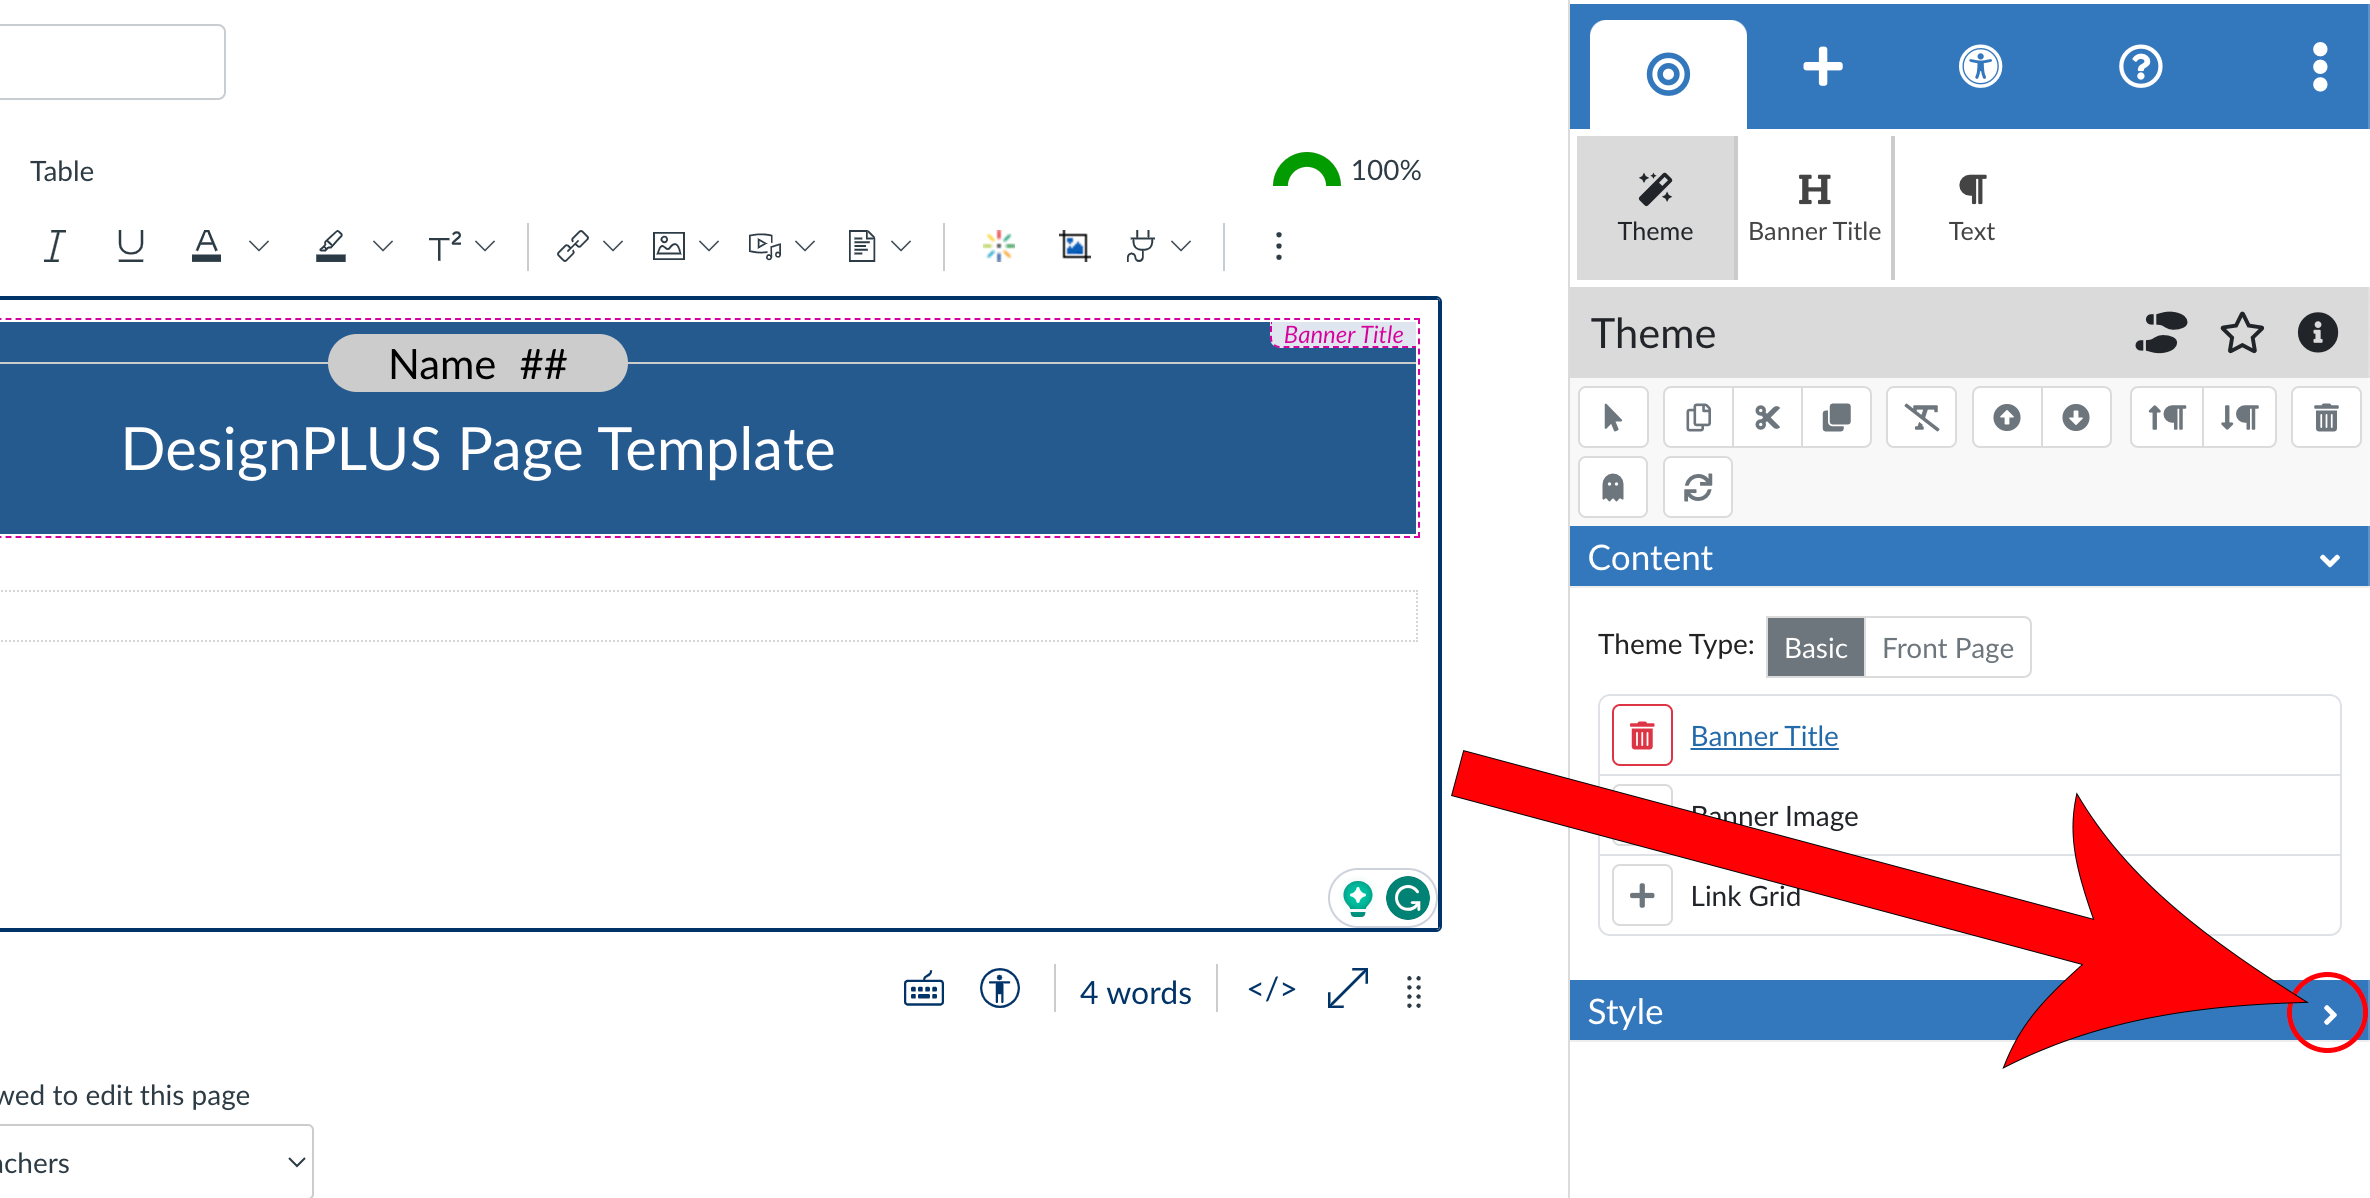
Select Theme from the Getting Started panel
You can also search for a theme or, if used recently, it may also appear in the Recently Used Tools tab. Selecting a theme automatically inserts a Banner Title.
- To make adjustments to the Banner Title, select the blue, underlined Banner Title link. This will open the Banner Title tool in the sidebar.
- To remove the banner title, select the red trash can icon to the left of the element’s name.
- If desired, select the + button next to the other page elements to insert them, e.g., Banner Image, Link Grid.

Click on the right arrow to expand the Style panel
You can search for a pre-designed theme or click the + sign to access Institutional themes.
Expand the USU dropdown to locate the theme you want
You may have to click on the up arrow to expand the Legacy Themes.

Click the name of the theme to apply it
Hover your cursor over the theme to see a preview of it.

Insert additional elements into the page
This can be done by using the Canvas Rich Content Editor (RCE) and/or the Add New Elements tab of the DesignPLUS sidebar.
Save the page
Add, Remove, or Rearrange Content Blocks
You can use content blocks to group page elements into sections of content and organize pages into manageable pieces to increase usability for students. The following controls are available in the Content Block section:
- Add Block Buttons: add content blocks before or after an already-inserted content block.
- Arrange Content Blocks: rearrange (drag and drop) the content blocks.
- Unwrap Content Block: removes content blocks and converts them into text blocks.
- Remove Empty Elements: removes empty elements in content such as paragraphs, list items, and links.
- Block Heading: provides a text field to insert a title for the content block heading.
- Heading Level: lets you select between h2-h6 heading levels. The circle with slash option transforms the heading into plain text.
- Icon Picker: lets you access icon libraries to add or replace icons.
- Overwrite Checkbox: lets you select a template block to overwrite the current block.
Add New Content Block
To add a new content block:
Open the Add New Elements tab
Place your cursor in the editor where you want the content block to go
Select Content Block

Type the title for your Content Block in the Block Heading section
If needed, select a different Block Heading level (H3, H4, etc.). By default, content block headings load as a Heading 3.

(Optional) Click on the Icon Picker if you want to use an icon
You can choose from a category or search for an icon using a keyword.
![]()
(Optional) Opt to overwrite the current block with a selected template if desired
To do so, click the + to expand the panel and add template content.
- Select General Template Blocks to search for template blocks or use existing Institutional template content, e.g., Introduction, Objectives, Lectures.
- Select Syllabus Template Blocks to search for existing syllabus content blocks or to access USU template blocks, e.g., Course Description, Course Learning Outcomes, Instructor Information.

Save the page once all desired elements have been added and populated with your content
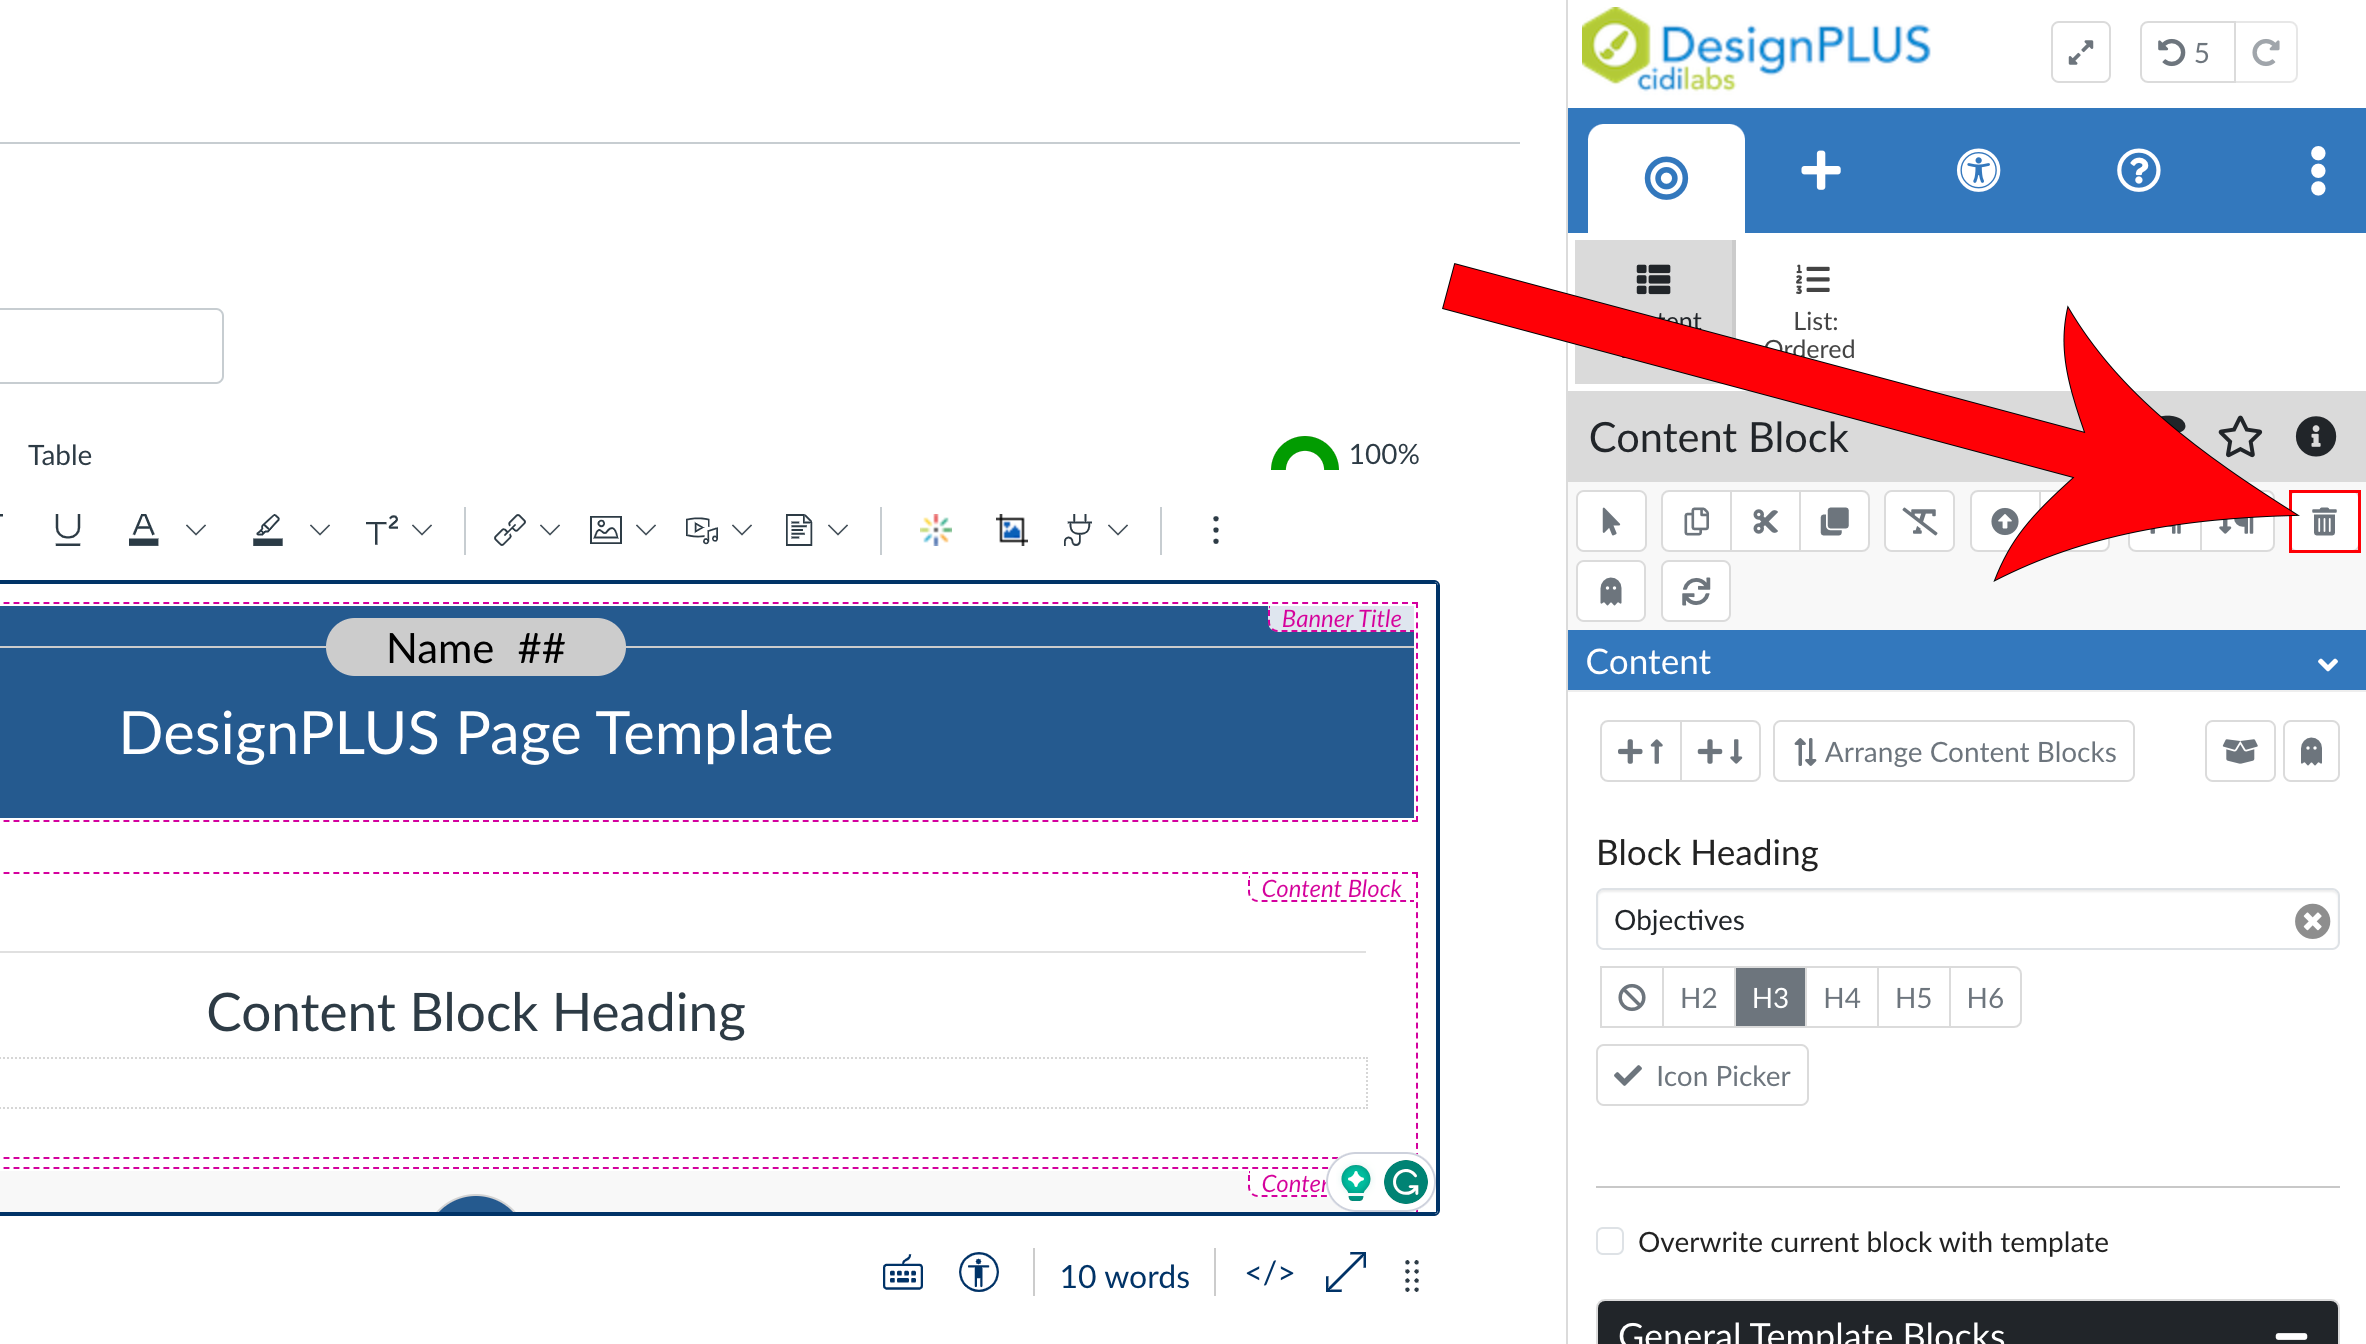
Remove Content Block
To remove a content block:
Open the Edit Current Element tab

Place your cursor inside the content block that needs to be removed
Select Content Block

Select the Delete Content Block icon (trashcan) on the Action Toolbar
Rearrange Content Blocks
To arrange your content blocks:
Open the Edit Current Element tab
Place your cursor inside the content block that needs to be removed
Select the Arrange Content Blocks button

Use the drag-and-drop handles on the left (or keyboard actions) to rearrange the content
Changes to the content order will be immediately reflected on the page. No save action is needed.

Add Template Content
In addition to new content blocks, you can use the Content expander panels to access pre-designed templates and import previously saved content blocks or pages. The following controls are available in the Template Content section:
- Position Buttons: moves the template content to the top or bottom of the page.
- Overwrite Current Content with Selected Template: when checked, replaces all current content in the editor.
- Keep Current Content Theme: lets you apply a theme while keeping the current content.
- Course Content Expander: lets you select template content from any item in the current course.
- Content Dropdown: lets you find course items by name. Choose from all course pages, all assignments, all discussions, or all quizzes.
- Import by URL Expander: selects template content from a URL of another item within the same Canvas instance.
- Templates: lets you select template content from items designated as templates. Search by keyword or select from general or Institutional templates. Note: you can hover over the template to see a preview of it.
To add a new template to the page:
Place the cursor in the editor where you want the text to go
Open the Add New Elements tab
Select Template Content
This will add a placeholder in the editor

Select either Top or Bottom for the Template Position
If desired, opt to overwrite the page with the selected template or keep the current content theme.

Expand the desired Template Content panel
- Course Content: copy content from your course; you can select from Course Pages, Assignments, Discussions, and Classic Quizzes.
- Import by URL: copy content from another Canvas course; you can select from course pages, assignments, discussions, and classic quizzes.
- Templates: search for template content or add institutional template content, e.g., syllabus, home page.

Remove a Template
To remove a template:
Place the cursor within the template content
Open the Edit Current Element tab
Select Template Content
This will add a placeholder in the editor

Click the Delete Template Content (trash can) button in the Action Toolbar
If desired, opt to overwrite the page with the selected template or keep the current content theme.

Save the page
