Adding Current Module Contents to Course Home Page with DesignPLUS


Step-by-step

1

Navigate to the homepage and click "Edit"


2

Open the DesignPLUS Sidebar using the Spaceship icon or by typing Alt/Option+Shift+D

Open Design Plus tab highlighted in orange.


3

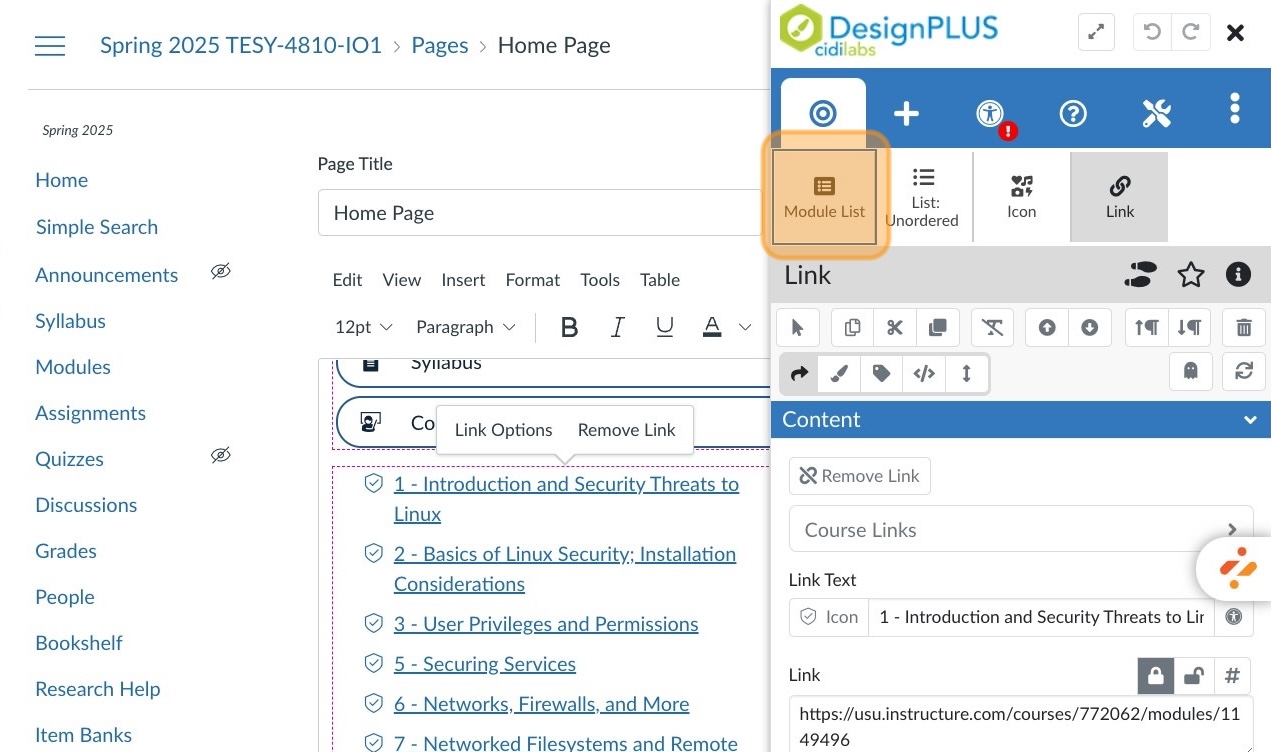
Click inside the module list on the page

Module list highlighted in orange


4

Click "Module List" in the DesignPLUS toolbar

Module List in the design plus toolbar highlighted in orange.


5

If you need to change the dates, click the x calendar icon to remove the current dates

X Calendar icon highlighted in orange.


6

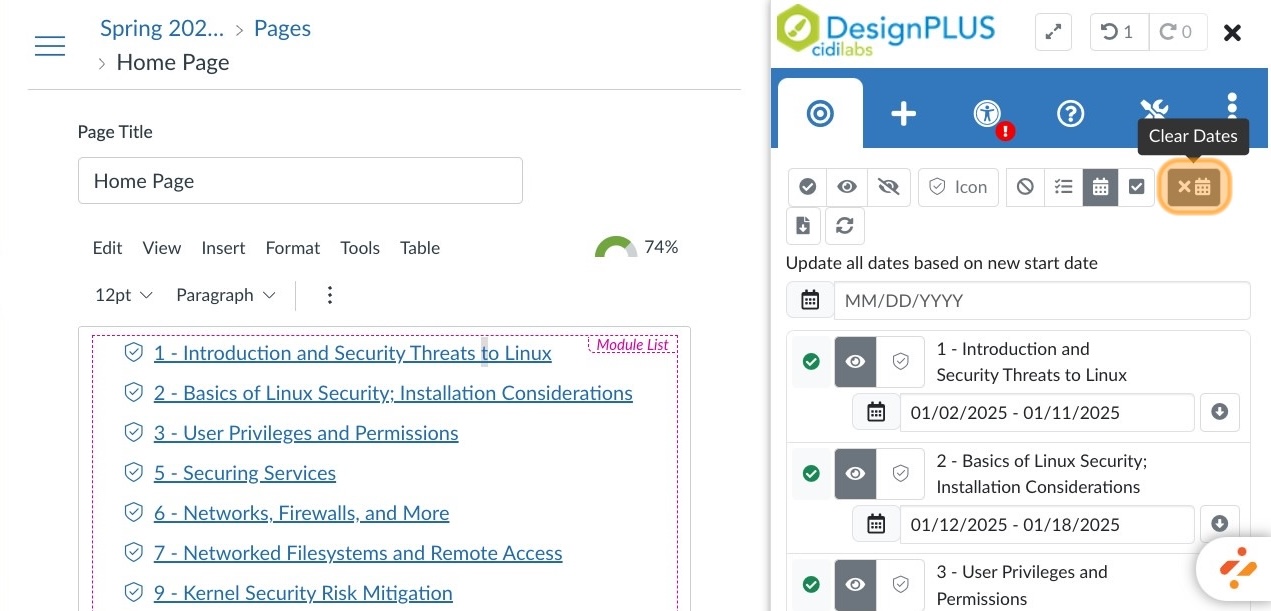
Click the date field for the first module

Date field highlighted in orange.

 
7

Select the start date...

A calendar with the 6th of January highlighted in orange

 
8

...and end date for the first module

A calendar with the 12th of January highlighted in orange.

 
9

Click the down arrow to fill the modules below with the same date structure

Icon of a down arrow highlighted in orange with the text "Copy date pattern to next active modules"

 
10

If you want to see how the current module will display, change the start date of the first module to a current or past date

Module date highlighted in orange showing dates January 6 to January 12.

 
11

Open the "Advanced" section of the DesignPLUS toolbar.
Then under the Quick Links option, click "Current"
Current button under Quick Links highlighted in orange with the text "Show Quick Links for current module"

 
12

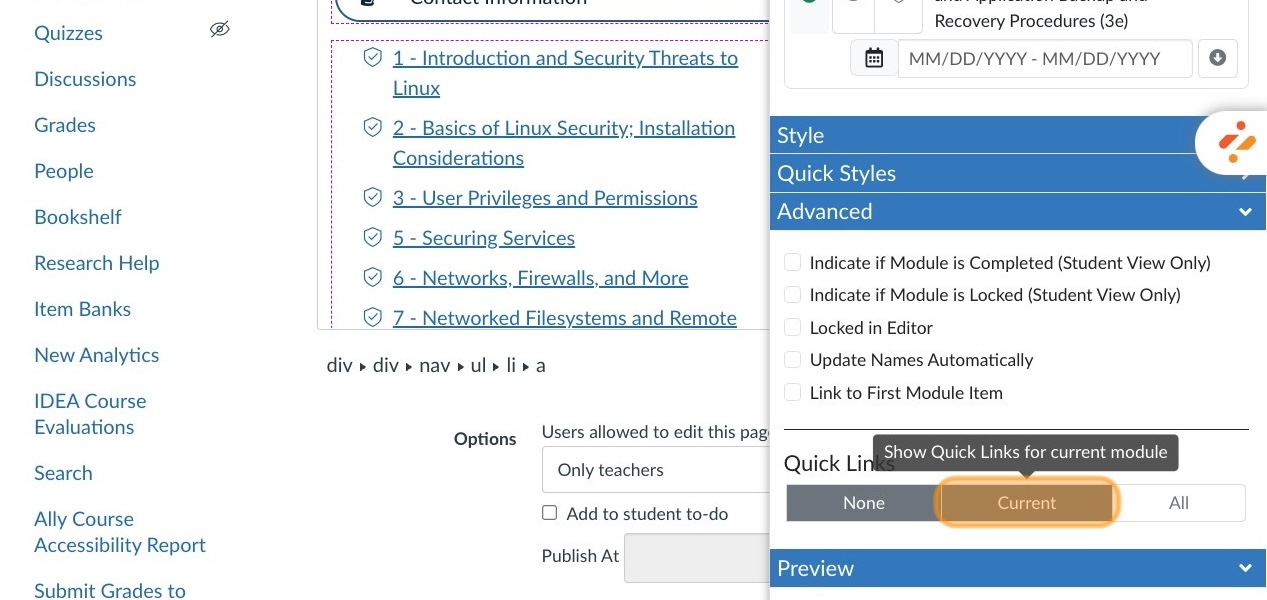
In the Style Panel you can choose display options for the Active module title
The style Panel pop up highlighted in orange, displaying different font styles to select from.

 
13

Close the DesignPLUS panel
An X in the top right corner highlighted in orange with the text "Close Sidebar"

 
14

Click "Save"
Save button in bottom right corner highlighted in orange.