Update the Module Dates on the Home Page
1
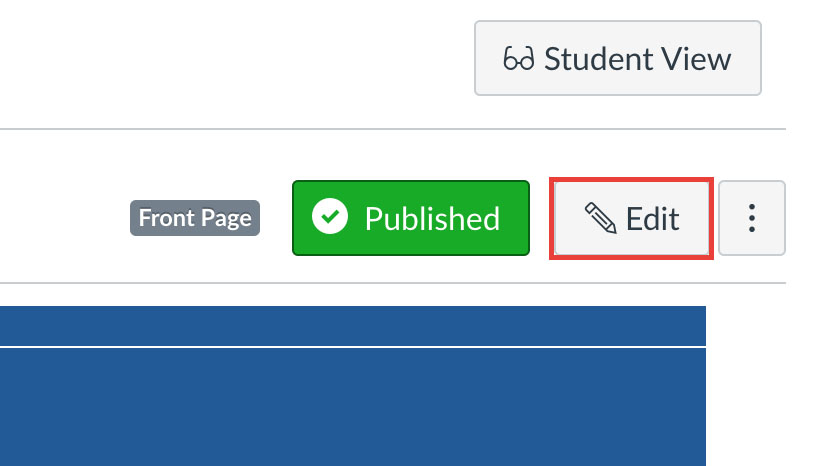
Click Edit
2
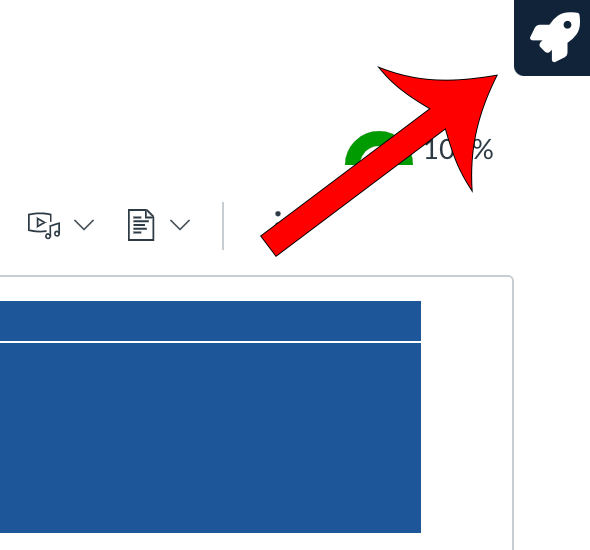
Launch Design Tools by clicking the rocket ship icon in the top right corner
3
Expand the Add Advanced Elements dropdown
If you don't see "Add Advanced Elements" section in the Design Tools, click the gear icon and toggle Module List item on

4
Expand the Module List dropdown

5
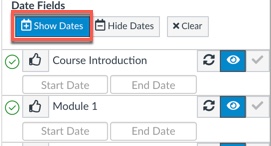
Click Show Dates dropdown
6
Adjust the dates:
- Individually
- Click on the start or end date of the module you want to change
- Choose the new date on the calendar pop-up
- Repeat to make additional date adjustments
- Collectively (for the entire semester)
- Click Clear
- Choose the start and end date for module 1
- The rest of the modules will fill in with the pattern you created

Tips:
If the semester starts on Monday but you want the remaining modules to start on Sunday, choose Sunday before the semester starts as the start date of the first module.
Add a module titled "Spring Break" that is positioned at the appropriate point in the semester to help your dates stay consecutive for spring semester.
7
Click Save
